M i
To stronomy
M i
To stronomy
T elescopios
T elescopios
T elescopios
T elescopios
Observatory Astronomic
BASE INSTALLATION
Base installation start:
The base was taken from a previous construction which will be adapted for the astronomical observatory.
First Telescope Mount Support Construction
A foot of 1.30 meters high was built that will function as the main support for the observatory's mount No. 1.
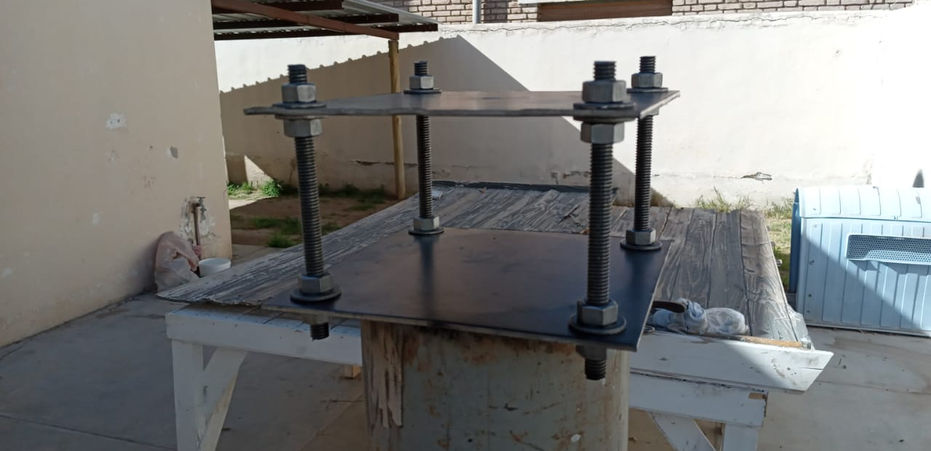
3 iron sheets were made, one 30cm x 30cm and two 20cm x 20cm.
The base plate was welded to the pipe and one of the upper plates.
A 1m threaded rod was purchased and 4 sections of 15 cm each were cut; adding 4 nuts and 4 washers to each of the threaded segments.
Attaching the mount bracket of the first telescope
The entire structure was fixed to the floor with four screws embedded in the cement.
The fixation was carried out in such a way that the south face of the 3 plates pointed exactly to the south.
With this orientation, the counterweights of the mount are prevented from touching the corners of the upper plate in their future movement.
Painting of the mount support column N°1
Glossy black enamel paint was acquired and column No. 1 of the mount support was painted, as well as the upper support, which is the base of the mount itself.
Skywatcher mount and telescope presentation
The Skywatcher mount was presented with all the complete equipment to determine if the measurements and distances in relation to the sliding roof that will be mounted later were within the calculated parameters.
Everything coincided perfectly so the construction of the sunroof goes ahead.
PREPARATION AND PLACEMENT OF SIDE WALLS
Preparation of side walls:
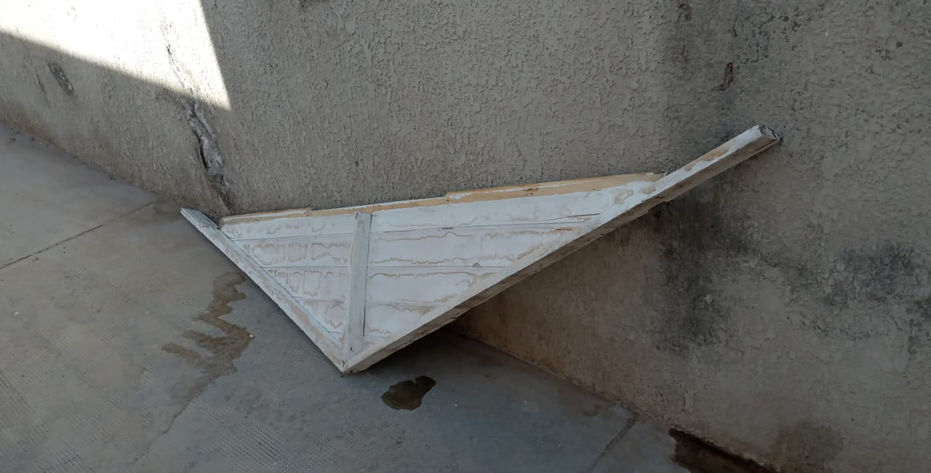
Two extensions of the side walls were made, which will allow greater amplitude inside the observatory.
Preparation of the front face
Existing windows in the previous structure were removed by placing new dovetailing in their place.
The separation of the lateral piping of the roof was also carried out, which will be placed on a skeleton specially designed for the sliding roof.
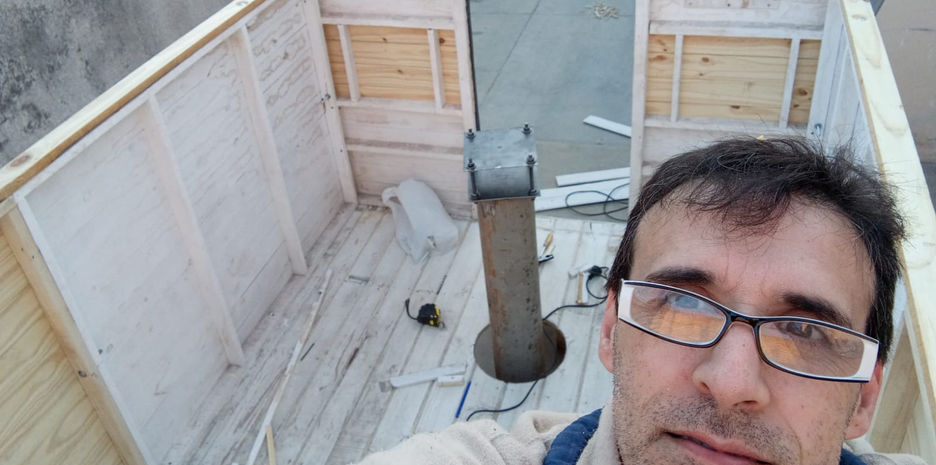
A 30 cm diameter hole was drilled in the platform through which the main support of telescope mount No. 1 passed.
The platform was placed in its place to prepare the assembly of the four side walls.
Installation of the observatory walls
The walls of the astronomical observatory were placed.
A total of 6 modules were installed with 15 cm and 7.5 cm through screws.
It remains to finish sealing a window with machimbre.
I did all the work with the help of my son Leonel Albarrán. Without him I could not have done anything. Thank you very much son!!!
Painting of the main structure of the observatory
Bright white enamel paint was purchased to paint the entire main structure of the observatory.
High-density foam insulation
High-density foam rubber was placed in the main joints of the central structure as well as in the sunroof.
A 5mm piece of melamine was also placed to cover the rail and the wheels and in turn has foam rubber fixed to the structure, inside.
The main idea of the foam rubber is to prevent dust from entering the interior, leaving the telescopes as isolated as possible.
Foam rubber was also placed at the bottom of all the side faces.
Work accident
In the process of laying the foam rubber I had an accident; the entrance ladder to the observatory slipped and I went with it scraping myself on the edge of the front base.
A major pain that led me to permanently fix the ladder.

Addition of double door at the entrance to the Observatory
Left side panel modified to function as a door to allow entry of the 1200x200 Dobsonian Skywatcher telescope with its EQ/Dobsonian base; it did not enter through the existing door in the structure as it was.
The task that had to be done was not too much since only two side hinges were added that allow the front panel to rotate.
SLIDING ROOF
Installation of the rail supports and the door
The upper supports were placed on which the rails will be installed on which the wheels will run to allow the roof to move.
The last remaining window was sealed with machimbre.
The entrance door to the observatory was installed.
Four liters of white enamel-type paint were purchased to paint the entire observatory.
Start of sunroof construction
were acquired the missing materials for the construction of the sunroof.
They bought:
4 metal wheels
3 rails of 3mts each
1 Pine wood 15 cm x 5 cm x360 cm
2 pine boards 10 cm x 5 cm x 350 cm
4 alfajías of 6 cm x 2.5 cm x 220cm
2 trunks of 210 cm.
Final assembly of the roof and start of closing details
The roof was permanently assembled since it will not be removed again for the tasks that will follow.
It begins with the realization of the lateral closures that join the roof with the main structure. The idea is that the union between the ceiling and the structure is as perfect as possible, avoiding cracks that allow dust to enter the interior.
Placement of similar wood and lacquered floor
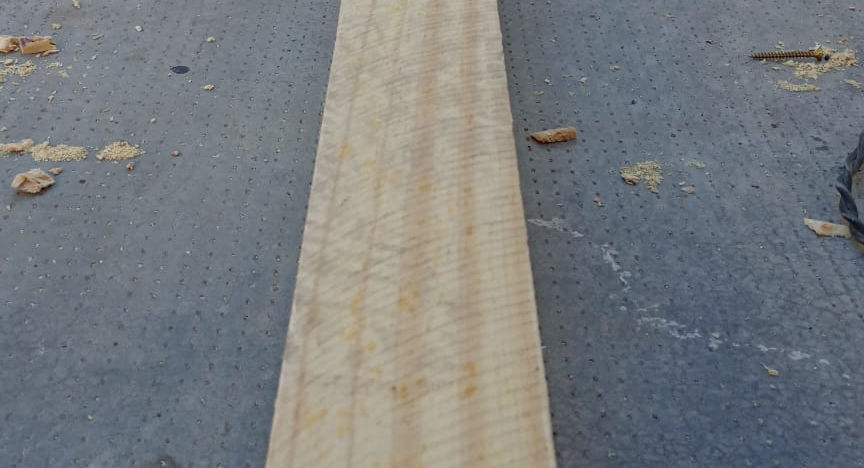
A 3 mm textured melamine wood floor was laid and lacquered.
In this way, all the existing air inlets in the old machimbre floor are eliminated, which was left below as a support for the new floor.
The lacquering allows determining the amount of dust particles mounted that have entered the observatory contaminating the equipment.
The observatory is isolated in order to minimize the entry of dust into it.
Sunroof motorization:
A complete sliding gate kit was purchased which was adapted to automatically open and close the roof of the observatory.
The opening and closing of it is done through a remote control.
Below are some images of the components and the finished work.


